Build the Website pages
Objectives
In this lab, you will learn how to:
-
Use the components to build the website
-
Build the Website
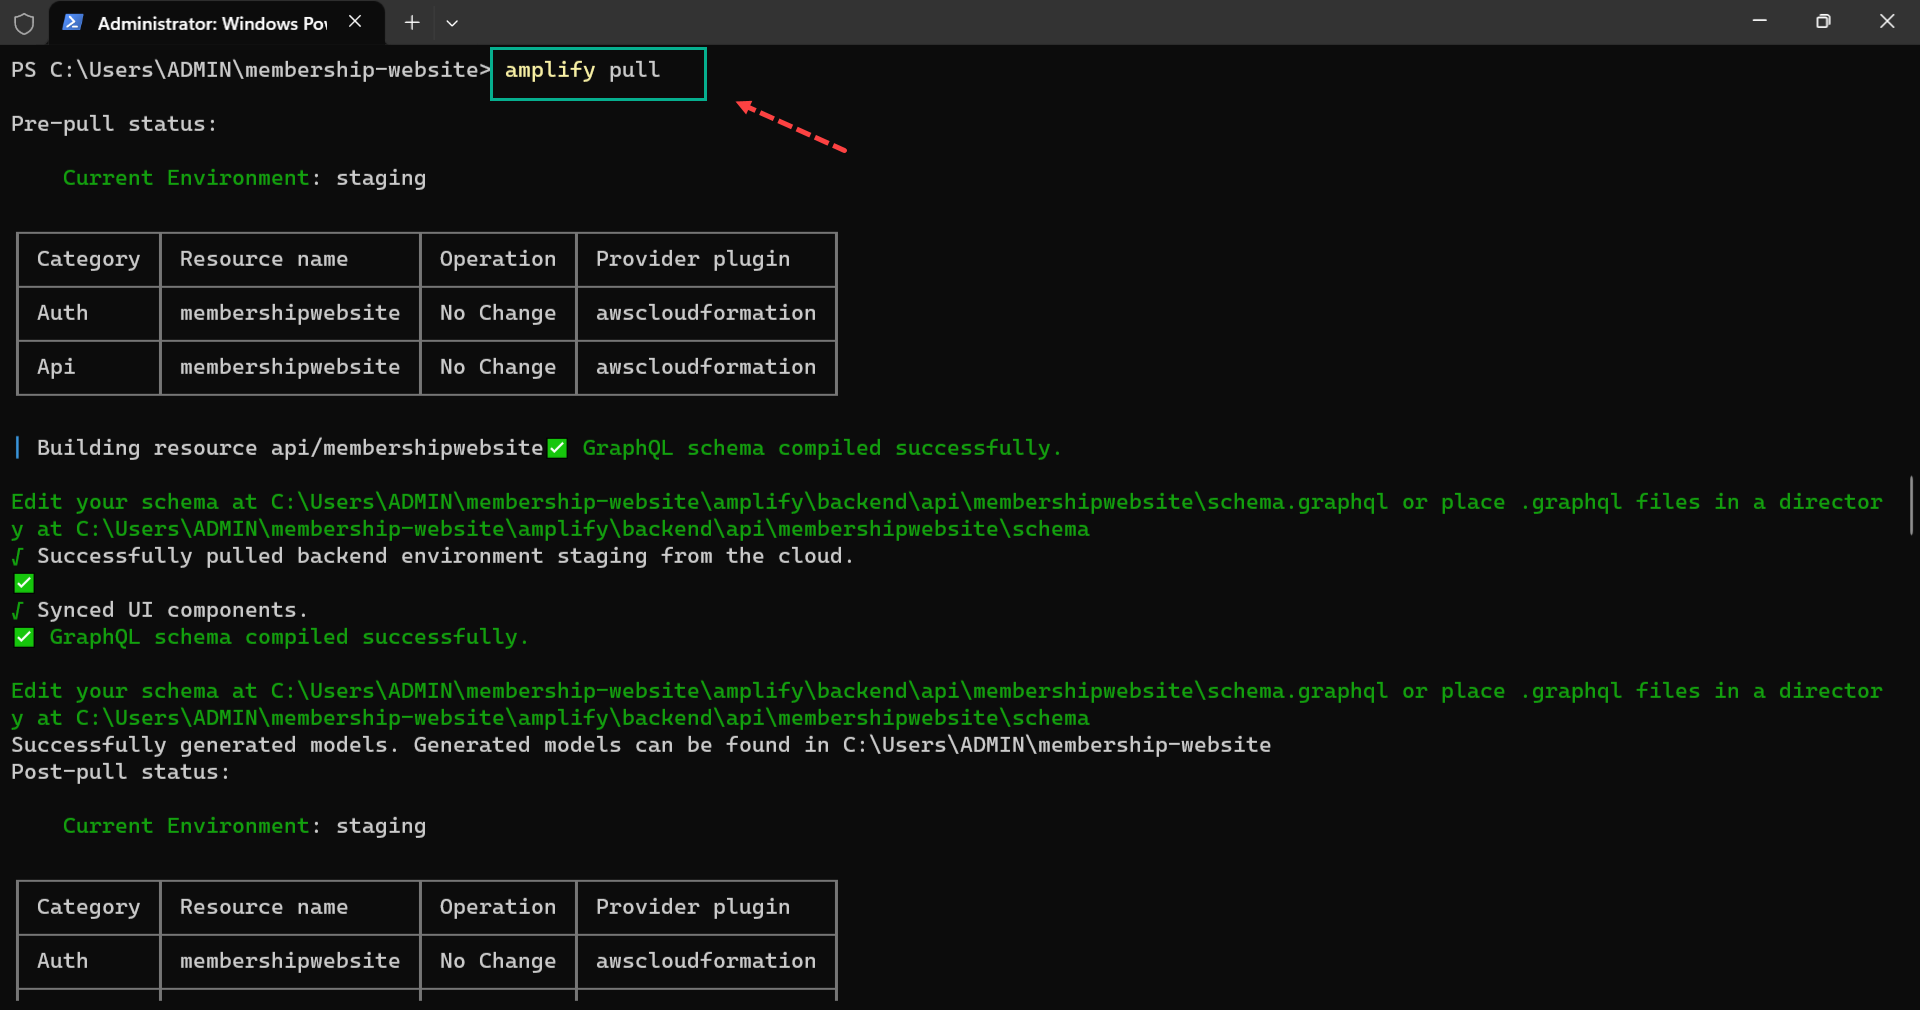
First, run the following command to pull the data binding changes we made into the Next.js project.
amplify pull
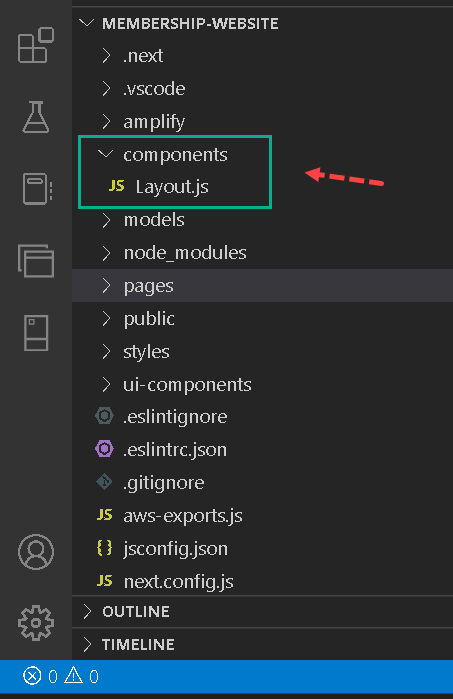
Next, create a components folder; inside it, create a Layout.js file with the following snippets:
//components/Layout.js
import React from "react";
import { View } from "@aws-amplify/ui-react";
import { Nav } from "../ui-components";
function Layout({ children, authText, handleClick, username }) {
  return (
    <View width="1200px" marginLeft="auto" marginRight="auto">
      <Nav
        marginTop={"20px"}
        handleAuth={handleClick}
        authText={authText}
        username={username}
        avatar={username.split("")[0].toUpperCase()}
      />
      {children}
    </View>
  );
}
export default Layout;
In the snippets above, we:
-
Imported View from “@aws-amplify/ui-react” and Nav from ui-components.
-
Rendered View as a wrapper div for the Nav component and the children prop.
-
Rendered the Nav component and passed some layout props to it.
Next, modify the index.js file like the below:
//pages/index.js
import React from "react";
import { Flex, View } from "@aws-amplify/ui-react";
import { Footer, Hero, Persuade, Testimonies } from "../ui-components";
import Layout from "../components/Layout";
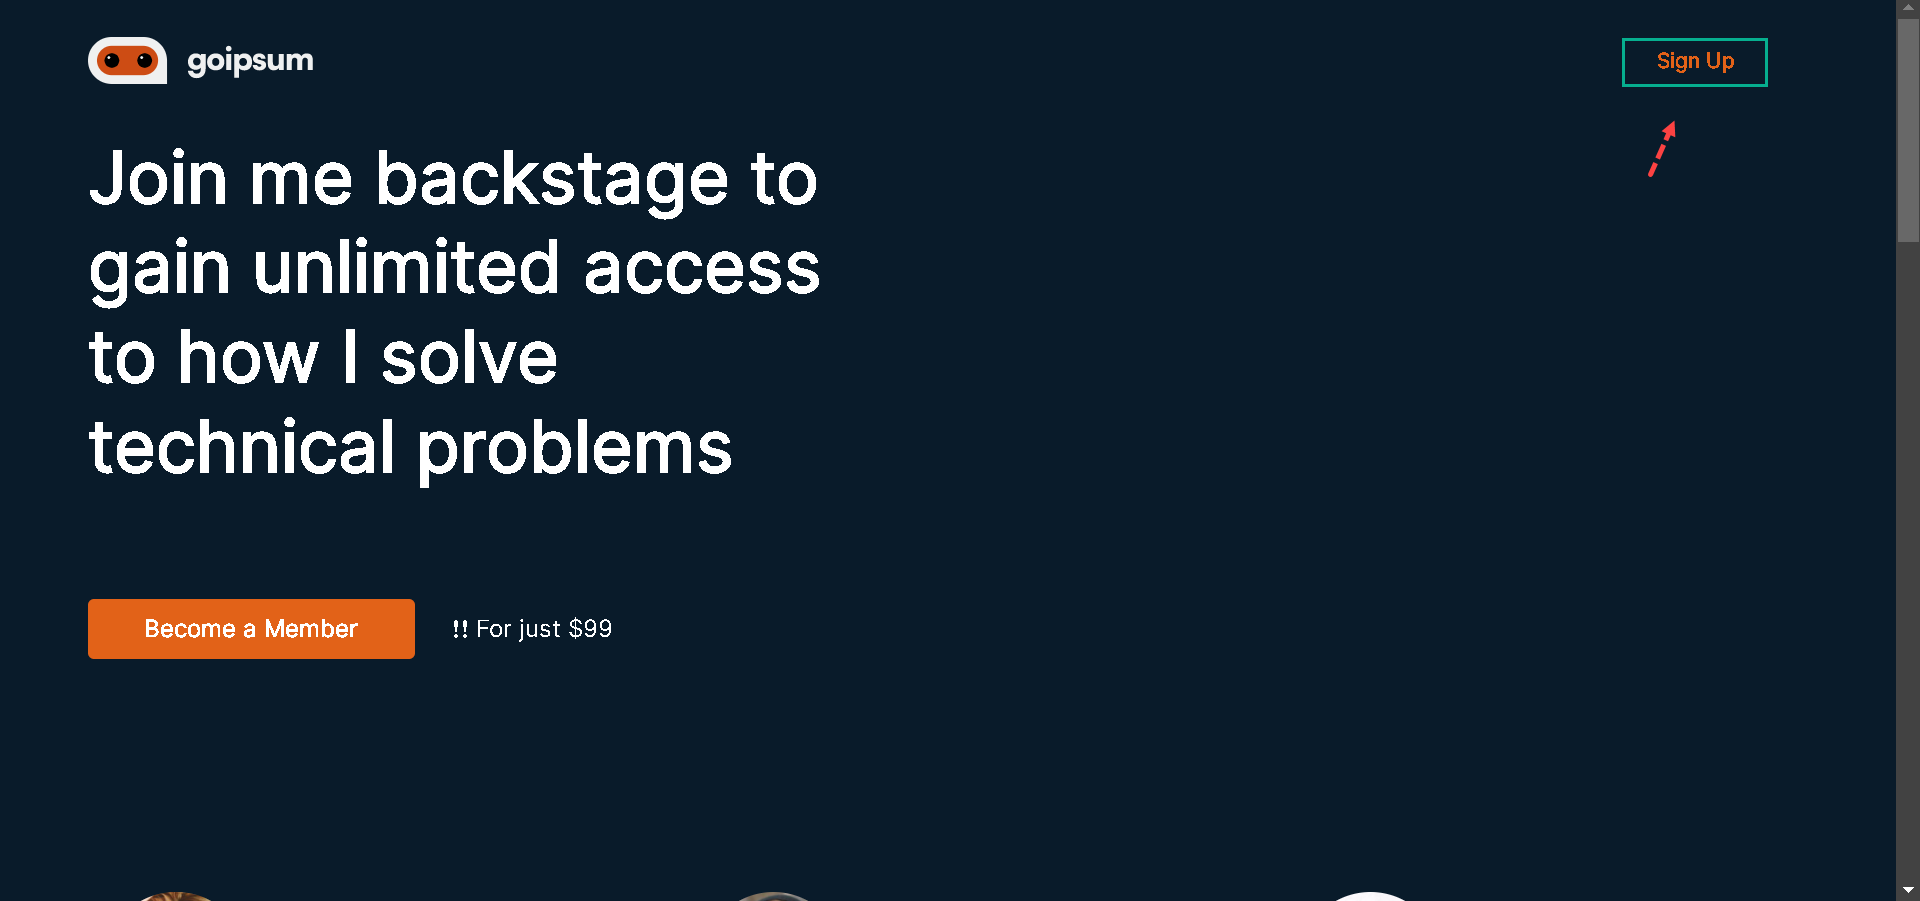
function index() {
return (
<Layout handleClick={() => {}} authText="Sign Up" username="none">
<View marginBottom="135px">
<Hero handleClick={() => {}} />
</View>
<View>
<Testimonies />
</View>
<Flex justifyContent={"center"}>
<Persuade banner="https://i.imgur.com/MxbD3N4.png" />
</Flex>
<View marginTop="50px" marginBottom="50px">
<Footer />
</View>
</Layout>
);
}
export default index;
In the snippets above, we:
-
Imported Flex and View from “@aws-amplify/ui-react” and Hero, Persuade, Testimonies, and Footer components from ui-components.
-
Imported Layout.js from the components directory, rendered it and passed handleClick, authText, and username props.
-
Used View and Flex and rendered our components within the Layout.js wrapper component. Notice that the username component is not visible in the Nav. That is because we passed none as to its value.
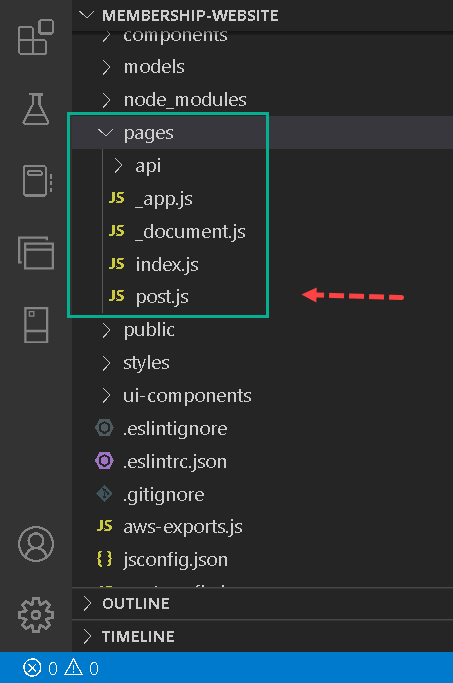
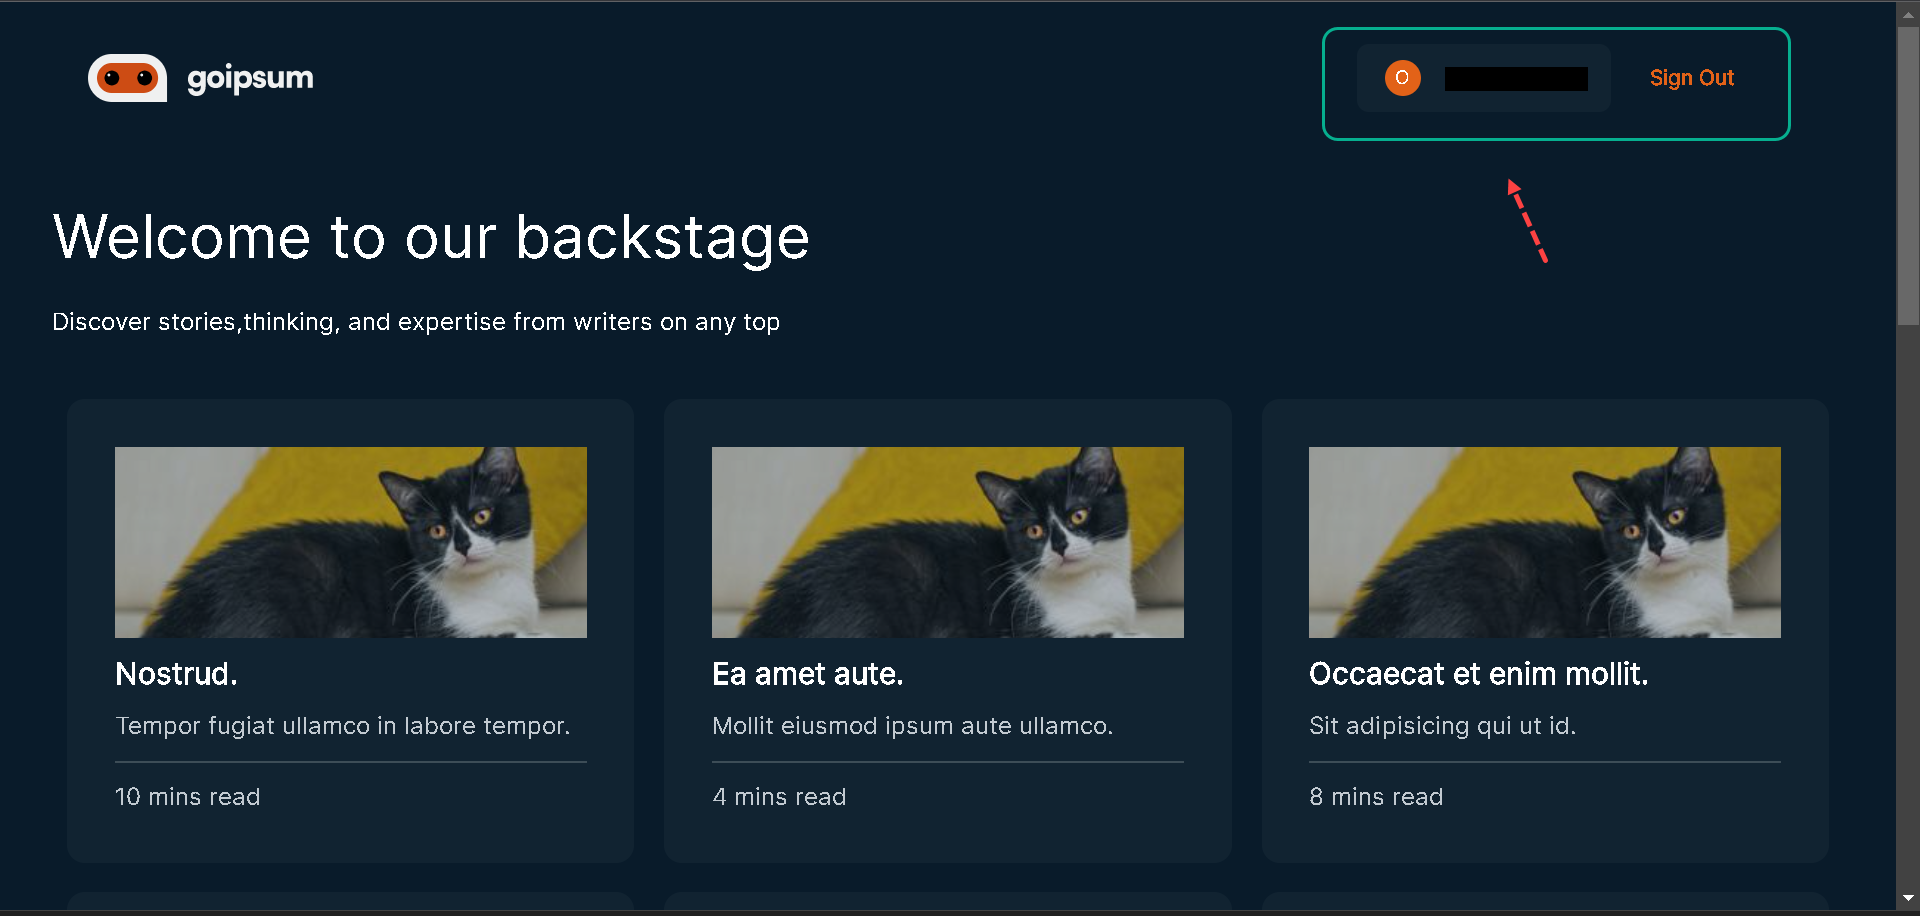
Next, let’s create a post page where we will render the Stories component; inside the pages directory, create a post.js file with the following snippets:
//pages/post.js
import React from "react";
import { Heading, Text, View } from "@aws-amplify/ui-react";
import Layout from "../components/Layout";
import { Footer, Stories } from "../ui-components";
function Post() {
  return (
    <Layout
      handleClick={() => {}}
      authText="Sign Out"
      username={"christian@hotmail.com".split("@")[0]}
    >
      <View marginTop="50px" marginBottom="30px">
        <Heading level={2}>Welcome to our backstage</Heading>
        <Text marginTop="20px">
          Discover stories,thinking, and expertise from writers on any top{" "}
        </Text>
      </View>
      <Stories />
      <View marginTop="50px" marginBottom="50px">
        <Footer />
      </View>
    </Layout>
  );
}
export default Post;
In the snippets above, we did the following:
-
Imported Heading and Text components to format our texts and View component to wrap the Text and other components.
-
Imported the Layout.js components, rendered them, and implemented the post page inside it.
If we navigate to /post in the browser, we would see our post page with the stories component in it. To navigate to the post page from the landing page, let’s update the index.js with the below snippets:
//pages/index.js
//other imports here
import { useRouter } from "next/router";
function index() {
  const router = useRouter();
  return (
    <Layout
      handleClick={() => {
        router.push("/post");
      }}
      authText="Sign Up"
      username="none"
    >
      //other components implementations here
    </Layout>
  );
}
export default index;
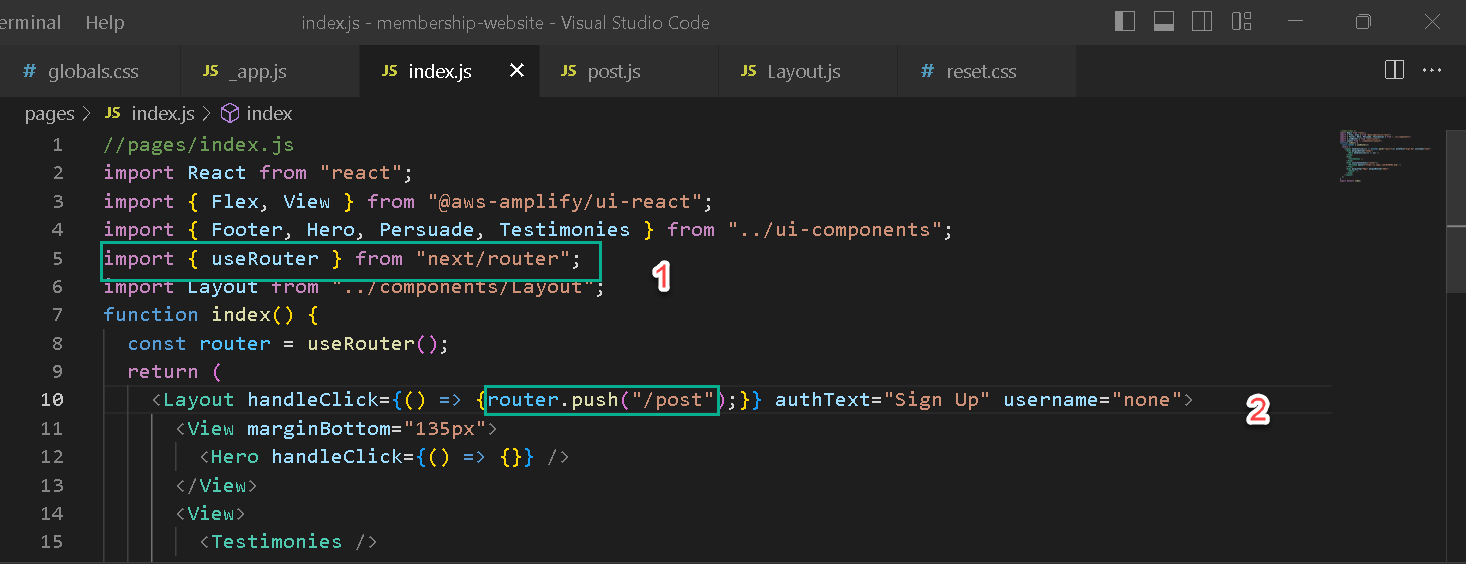
Here, we imported useRouter from “next/router” and created a constant router with the useRouter() function, and then updated the handleClick. When we click on the Sign-Up button on the landing page, we’ll be redirected to the post page.
What’s Next?
In the next lesson, you’ll learn how to create a checkout fow with Stripe.